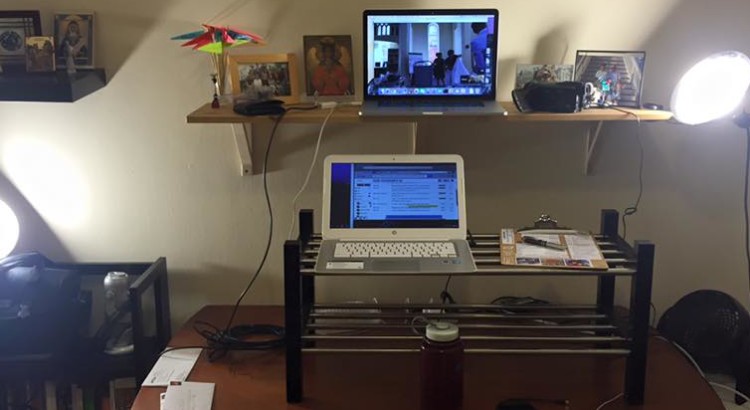
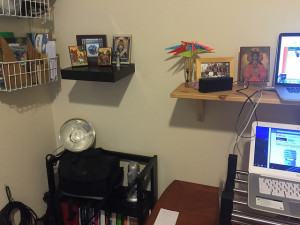
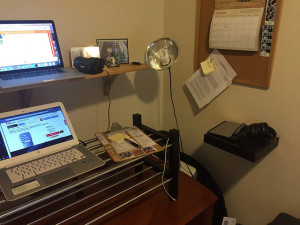
Online and off-, a couple people have asked about my simple DIY standing desk setup in our new apartment. I thought maybe the most efficient way to answer the questions would be to share here how I did it.
My main criterion was that I didn’t want to commit to always standing. So whatever was to bring my computer(s) up to “elbows perpendicular” height, it needed to be lightweight and flexible.
I spent a lot of time at IKEA. What I came up with was a shoe rack. I didn’t know that’s what it was until I read the tag, but apparently this thing is very recognizable as a shoe rack. So if that bothers you, well, there’s that.
Anyway, I love it. I put a clipboard next to the computer to give myself a place to write, set my water bottle, etc. I hate clutter, so I rarely use the second shelf, but I can imagine it being useful at some point, for books or whatever. Also, I think this solution is more permeable to the breeze from my fan (on top of plastic drawers next to the desk) than a traditional shelf would be. Bonus.
(Obviously, all this begs a question about whether an object of the supplemental shelf’s/rack’s height, plus the height of the desk, will bring the keyboard to the right height for your body. Bring a tape measure and a schematic of your existing desk with you.
Here again is a link to a helpful diagram from Fast Company. Notice that a USB keyboard on the shoe rack connected to the “mantel” computer [see below] would get the elbow angle and the neck angle about right. I should probably get on that.)
The challenge then was getting all the stuff that was formerly at the back of my desk, stuff I wanted to actually look at or have easy access to, to somewhere where I could still see/grab them while standing with the shoe rack in place. For that I used a single long shelf (and brackets) like a mantel, plus a couple of those square-ish mini-shelves (upper left, lower right). Yes, the latter are a pain to install.
The last touch was a couple work lamps to improve video recording and conference call lighting. With really bright bulbs it gets a little hot, so again, I’m grateful for the fan-permeable setup. You can see two in the photo, and I have a third clamped to the futon behind me to get a little three-point lighting effect. (I realize now that I should have turned that one on for the photo above.)
A great unanticipated side effect of this setup is that the second computer up on the mantel is at a good angle for participating in web calls or shooting videos using QuickTime on the MacBook. Usually I open up email, a music player, etc. on that machine, so I’m less tempted to putz with them. And again, if you look at the Fast Company illustration, that height is apparently where your monitor should be anyway.
Oh, and I stand on a chair pad. I hear there are fancy mats you can get too.
Here’s a shopping list for everything but the desk itself. Total cost, including the three sets of lamps and bulbs, is $123.77. Without them it’s $66.95.
Shopping List (or on Pinterest)
- TJUSIG shoe rack (IKEA: $19.99)
- EKBY HEMNES shelf (IKEA: $19.99*, I think?)
- EKBY VALTER bracket x 3 (IKEA: $3.00)
- LACK wall shelf x 2 (IKEA: $6.99)
- HDX clamp light x 3 (Home Depot: $8.47)
- EcoSmart lightbulb x 3 (Home Depot: $10.47)
- CILLA chair pad (IKEA: $3.99)
*For some reason, Google took me to the page for IKEA Kuwait for this one, so you’ll see if you follow the link that this shelf costs 6 Kuwaiti Dinar.


